
Understand Your Camera: Manual Photography Made Easy!
Manual mode is easier to understand than you’d think.
Don’t be overwhelmed by exposing your images in manual mode
Many beginners (and professionals, too, believe it or not!) are intimidated by the idea of manual mode in photography. However, understanding the basic manual settings on a camera is not as daunting as many photographers like to make it seem.
Once you become comfortable in manual mode, then you'll be able to make your camera work for you and you'll unlock the ability to do more creative things with your camera. And the best part is that even though it takes some practice to feel second nature, making decisions about which aperture, shutter speed, and ISO to use isn't actually that hard once you know the basic questions to ask yourself and what each of those settings will do for the image you ultimately capture.
If you’re a person that prefers to watch the information rather than read it, check out the video above. Otherwise, read on…
Oh, and a quick note that this post will be focused on photography. Understanding manual mode from a stills image perspective is a great gateway into learning basic settings for video, too, but there are some nuances that make shooting video a bit different, so I’ll cover those in a future video.
But first… What’s exposure?
The “exposure” triangle made up of shutter speed, aperture, and ISO.
Chances are you've probably heard that there are three ways to control your exposure with your camera: Aperture, shutter speed, and ISO. You may have even seen someone whip out something called the exposure triangle to try to explain them.
The only real value of the exposure triangle is to make it easier to explain that these three settings work together - that they're attached at the hip. Changing one setting will usually make you have to change one of the others to compensate. And now that you know that, you'll never need the exposure triangle again.
Notice how I've put "exposure" in quotes. That's because this is incorrect. If we need a diagram at all, it should be called something like the camera settings triangle. While All three controls are important, only two of them directly control exposure.
It would be more appropriate to call the “exposure triangle” the camera settings triangle.
But, I'm getting ahead of myself… we need to define exposure so that we don't confuse it with brightness. They're not the same thing even though many photographers will use the terms interchangeably.
Exposure is strictly defined as the amount of light that reaches your camera's sensor (or film, but we're talking about digital cameras here). Brightness is simply how dark or bright your image is.
And I'm not trying to be pedantic here, but the distinction between exposure and brightness is an important distinction to understand. This is because for any scene you can adjust the combination of your three main camera settings in a wide variety of different ways to achieve the same brightness, but that won't mean they're necessarily exposed well.
Getting a "proper" exposure is about more than just brightness, it’s about balancing your camera’s settings and their trade-offs so that you capture a good image, not just a bright one. If you only cared how bright the image was, you could just stay in auto mode. So while exposure certainly contributes to how bright the image is, they're not the same thing.
Exposure is measured in stops of light. It's important to know that a stop is not an absolute measurement like an inch or a gallon or a kilogram - it's a relative measurement that describes either doubling or halving the amount of light compared to what you had before. So if you increased your exposure by a stop, you doubled the amount of light and vice versa if you decreased it by a stop. Your camera can probably be adjusted in third stop increments in which case three clicks on your wheel or dial would equal one full stop.
As I mentioned earlier, two of the three settings do actually control exposure: aperture and shutter speed. So let's break those down first.
Aperture basics for exposure
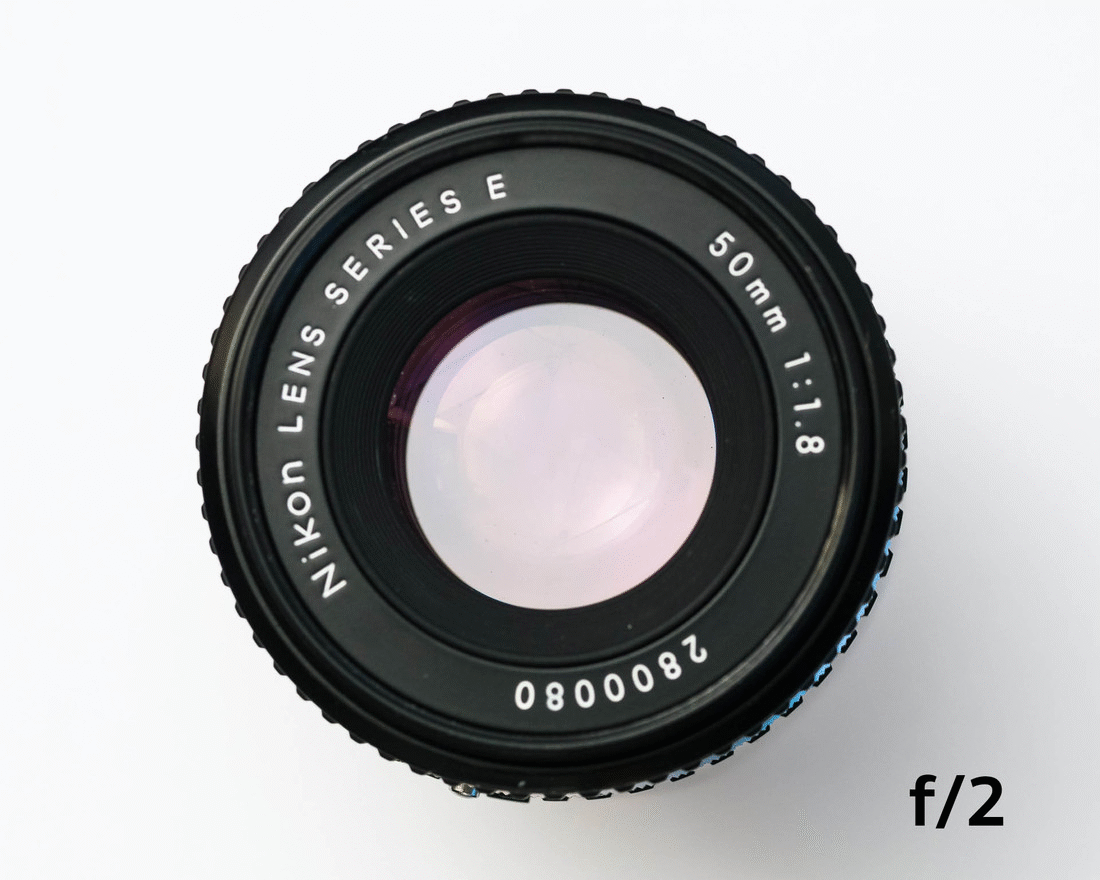
The first camera setting is actually a property of your lens and it's called aperture.
The aperture is the hole in your lens and you control it by opening and closing the blades of the diaphragm. You may also hear people call the diaphragm an iris, because at it's core, a camera is a piece of technology that mimics the human eye. If you were to compare the lens to your eye, the diaphragm in your lens would be the iris, and the aperture would be your pupil.
The diaphragm closes to make the aperture smaller as you stop down.
The pretty obvious bit is that as the aperture gets larger you get more light and when it gets smaller, you get less light.
The thing that typically confuses beginners though is the numbering system. The aperture is represented by f numbers or f-stops, for instance, f/2.8, or f/5.6, or f/8. These f-numbers can also be called f-stops. If you hear someone say f-stop instead of stop, it means that the changes in stops of light are being controlled by the aperture as opposed to the other settings.
Fairly standard aperture ranges you can expect to see, broken into full stops and 1/3 stops.
It's not really critical to worry about memorizing all the f numbers immediately, you'll get used to them as you go - The important thing to remember here is that the larger the number, the smaller the aperture, and the smaller the number the larger the aperture.
For instance, f/2.8 is a large hole and f/22 is a very small hole. This seemingly backward relationship is because the f-number is representing the result of a calculated ratio as opposed to an absolute measurement. If you think back to when you learned your basic math, 1/2 is a larger number than 1/4 for instance even though the denominator at bottom of the fraction is larger. Same principle here. It can be confusing at first, but you’ll get used to it over time.
Shutter Speed basics for exposure
The second exposure control you have is the amount of time your sensor is exposed to light. This is controlled with the shutter.
The shutter is also sometimes referred to as a curtain and is usually a physical mechanism that covers the sensor to block all light though some more recent cameras can achieve this electronically (often called silent shutter or electronic shutter).

The shutter closes to block light.
Whichever method your camera uses, the principle is the same: you get to choose the shutter speed - that's what the setting is called - and this numbering scale is a lot more straightforward. Shutter speed is measured in seconds, usually, fractions of a second and you can pick from a range. Many cameras these days can go as fast as 1/4000th of a second or even faster or as slow as 30 seconds (you can even hold the shutter open indefinitely with bulb mode). The faster the shutter speed, the less light gets in and vice versa.
If you're a person that remembers things easier based on analogies, an analogy here that could help you to remember aperture and shutter speed would be to compare light to water with the aperture being your faucet. If you open the faucet just a little bit, you get a trickle of water. If you open it all the way, you get a lot more water. In this analogy, the shutter speed would be the amount of time you left the faucet open.
In most scenarios, shutter speed and aperture are the first settings to consider changing. Later, I'm going to give you some questions to ask to help make your exposure decisions much easier. But first, let's talk about the third camera setting you need to understand: ISO.
ISO basics
In film photography, ISO (pronounced “eye-so”) refers to how sensitive the actual film stock is to light depending on the chemicals they use. You'll often hear people describe ISO the same way for digital cameras, but in digital cameras, it has nothing to do with your sensor's sensitivity. Your sensor can't change sensitivity. It sees what it sees.
But ISO is still important because it's your way to control the amplification of the analog signal coming off the sensor. This is why it's not an exposure control, though. With aperture and shutter speed, the changes you make happen before the sensor collects its data. With ISO, the changes you make happen AFTER the sensor has already done its job.
In practical terms, this means that even though ISO isn't a direct exposure control, ISO allows you to change the brightness of the image you want to take. It allows you to compensate for exposure changes you make with aperture and shutter speed, and for this reason, it should usually be the last thing you worry about adjusting out of the three. If you adjust ISO first, then you risk fooling yourself into thinking that the other two settings are good to go - usually leading to you underexposing your image because you haven't collected enough light (even though the image looks bright enough).
ISO also uses an easy scale. A low ISO like 100 is less amplified and less bright than an ISO of say 3,200 or 6,400. And most cameras can go much, much higher than that.
Now, you might be thinking that brighter is better right so you should just crank your ISO higher whenever you want, right? And this segues us nicely into the side effects or trade-offs of each of these settings - because how well exposed and how bright or dark your image is are not your only considerations. And in fact, your primary creative decisions are mostly all based on these trade-offs.
ISO trade-offs
The trade-off of ISO is noise. When your camera collects light there are two kinds of noise that happen before the signal from your sensor hits the analog amplification stage.
The first is from the light itself. And is called shot noise or photon noise. Light generates noise naturally because photons are emitted and reflected randomly. Even though we don't see it, the camera picks that up. You'll notice it more in darker parts of an image.
This image at ISO 8,000 has a lot of noise in the shadows.
The second kind of noise is generated by the circuitry in your sensor. This is called front-end or upstream read noise because it's upstream of or happening before the analog amplification.
When you increase your ISO, you're not only amplifying the signal, you're amplifying the noise that's part of the signal, and you can see this in the image. This is why people think that raising your ISO generates noise. Think of it as recording your voice. At a lower gain level, your voice sounds clean, but when you raise that gain, you can start to hear noise like hissing. It's not that the noise wasn't there, it's just that now you can hear it because it's been amplified.
So generally speaking, you want to keep your ISO as low as possible and still get the brightness you want.
And I say "generally" because, for the sake of being accurate, this is not always the case. There are situations and techniques where you would want to increase ISO to get better signal to noise performance, especially with certain brands of cameras known for low light capabilities like Sony, but those are some deliciously nerdy topics, so for now I'm making a generalization that keeping the ISO as low as you can to minimize the appearance of noise is the best thing to do most of the time. Here you can see two images side by side, one with a low ISO and one with a high ISO so you can see what I mean.
That said, don't be scared to use higher ISOs if you need to. The setting is there to be used, after all. And cameras are getting better and better at higher ISO performance.
Shutter Speed trade-offs
The trade-off or side effect of shutter speed is blur.
One type of blur is camera blur (also called camera shake) - and that's a blur that happens as a result of the camera moving slightly while you're taking the image. Higher focal lengths exacerbate these movements, too because you're more zoomed in. This is a common reason that beginners get frustrated when their images aren't sharp - It's easy to think you've missed focus when in fact the shutter speed was simply a little bit too slow.
The second type of blur is subject blur, which relates to how fast your subject is moving. Slower shutter speeds allow more blur to happen because more movement is captured while the shutter is open. Fast shutter speeds allow you to freeze motion. This will take a little practice to figure out what shutter speeds work better in certain situations but you'll get the hang of it pretty quickly. Here are a couple of examples, though.
In the first image, a slower shutter speed is used to capture more motion while the shutter is open, which results in a smooth, peaceful look. In the second image, the same waterfall was captured at a faster shutter speed to capture less motion, which gives the waterfall a more dramatic, powerful look.
A shutter speed of 1.3 seconds gives this waterfall a smooth look.
The same waterfall, but this time at 1/80th of a second.
Aperture trade-offs
Aperture has a few side effects. We’ll chat about two here. The first one and the one most people think of is depth of field. Aperture isn't the only way to control depth of field, but it is one of the easiest ways to control it.
Depth of field is the amount of the image in front of and behind the spot you're focusing on that is acceptably in focus. Technically speaking, when you focus on something, only the plane of that specific focus point is in focus, but for physics reasons, there's a range in front of and behind that spot where your eye can't tell the difference between what’s in focus and what’s out of focus. This is what I mean by “acceptably” in focus.

A narrow depth of field vs. a deep depth of field.
If you've ever heard someone say that they want to get the subject in focus while having a blurry background, depth of field is what they're talking about. In truth though, about a third of the "in focus" part will be in front of where you focused, and the other 2/3rds will be behind, so you can also use aperture to get a blurry foreground. This is great for drawing visual attention to your subject.
So let me give you a practical example of what this looks like. I've taken a series of images with this ruler in the frame and started with a low f-stop - remember, that means a big opening - and you can see how little of the image appears to be sharply in focus. As I stop down - that's making the hole smaller by increasing the f-number, you can see that more and more of the ruler appears to be in focus. The easy thing to remember about depth of field is that as you increase the f-number, the depth of field also increases.

Stopping down the aperture contributes to more depth of field.
The second main effect of aperture that many don't know about is lens sharpness. Because of the way that light passes through the lens, the lens isn't uniformly sharp the whole way through the aperture range and it will be the least sharp at the largest and smallest extremes. If you’ve ever wondered why many landscape photographers avoid the smallest and largest apertures, this is why - they’re looking for maximum sharpness.
The aperture setting where the lens is most sharp is referred to as the "sweet spot" and the only way to find it on your specific copy of a lens is to shoot test shots for yourself at different apertures and do some pixel peeping. A good rule of thumb, though, is that it's usually about 2 to 3 full stops from the lens’s maximum aperture.
So if your lens’s maximum aperture is f/4, then it's probably the sharpest in the f/8 to f/11 range. If your maximum aperture is f/2.8, then it's probably in the f/5.6 to f/8 range.
Most lens’ sweet spot is usually 2 to 3 stops below the maximum aperture
Bringing it all together - The basic creative questions to ask yourself when deciding on your settings
Now, if all of that sounded very complex, I’m about to make it easier for you. While it's important to understand the technical parts to become a better photographer (photography is all about making art from science after all), in practical terms, when you're actually trying to take an image, this can all be consolidated into a couple of initial decisions.
So to make sure we’re all on the same page so far…
Each of the three controls increases or decreases brightness - remember, two of them - aperture and shutter speed - are direct exposure controls. ISO is a brightness control (by allowing you to add gain to the analog signal).
One of your goals when balancing the settings is to make sure you're getting enough light and that the brightness or the image is what you want it to be. If you want to change a setting but want to increase the same exact brightness then you have to change one of the other settings in the opposite direction to compensate. But most of the time, this isn't going to be your primary concern. The aesthetic qualities of the image are going to be what you're focused on, so you're going to be making decisions based on the "side effects" or tradeoffs of each setting.
The first question to ask yourself is which do I care about more: depth of field or showing/freezing motion? This will help you decide if aperture or shutter speed will be your first priority.
Then once you have your first setting dialed in, adjust the other exposure setting next (aperture or shutter speed, whichever wasn’t your initial priority). Focusing on aperture and shutter speed first will help you get the creative look you're going for while still making sure you're exposed as well as you can be. Then focus on ISO last. You'll often find that you just can't get your image bright enough by only using aperture and shutter speed, so this is when you'd increase your ISO to compensate.
Some scenarios as examples
Let's get a couple of practical examples of how you might go about prioritizing which setting to choose first.
Scenario #1:
Let's say you're photographing your buddy on his motorcycle (I ride a motorcycle so it's a pastime that's near and dear to my heart). He wants you to get a shot of him doing a cool trick on his dirt bike and you’ll have to decide: “What's my priority here?”
Immediately, you know that shutter speed is going to be your priority because he'll be moving fast and you'll want to freeze the action so he's not blurry. And you'll need a really fast shutter speed - probably at least 1/2000th of a second. So you set your shutter speed, then use aperture to compensate. Since such a fast shutter speed will reduce exposure, you'll probably want a pretty large aperture to compensate. So you dial in a low f-stop and if your image is still too dark then you add a bit of ISO.
Scenario #2:
Maybe you're more of a waterfall aficionado and you want to convey the feeling of motion in your image instead of freezing the water. You know, those classic waterfall images where the water looks like it's flowing smoothly. In this case, again, the shutter speed will be your priority, but this time you want a slow shutter speed. Maybe half a second or a second (see my examples above). This also means a tripod will be necessary so your movements don't add blur. Once you have the shutter speed dialed in then you adjust your other settings. Aperture next, then ISO.
Scenario #3:
Maybe you like to shoot portraits. In this case, having a pleasing depth of field will probably be your priority where you can get the subject in focus but blur out the background. So you'll want to set your aperture first. Maybe f /2.8 or f/4 depending on how far away you are from the subject. Then you'd dial in your shutter speed, making sure your shutter speed is fast enough to account for any accidental movements by your subject, and finally increase your ISO to compensate, if necessary (though if you’re using studio lights, increasing their power first would be preferable to increasing ISO too much.
Final thoughts
Now there are more advanced use cases, like what if you need to prioritize shutter speed AND aperture, but that would be a good signal that you're moving out of beginner mode and ready to dive into more advanced techniques - many of which will require some editing skills, too.
So I'm going to leave it here for now and this should be all you need to know to get started! Even though you do need some technical knowledge to get started with a good foundation in photography, it will be much easier to acclimate if you focus on making your exposure decisions based on a priority of anticipating what's going to be most important in the specific situation. That will get you about 80% of the way to using manual mode well and make it a lot faster and easier, too.
Let me know if you have any questions!
Don’t forget to subscribe to my channel to be notified of new videos (make sure to hit the bell icon)! Or join my newsletter if you prefer to be notified by email.